Attach Athena
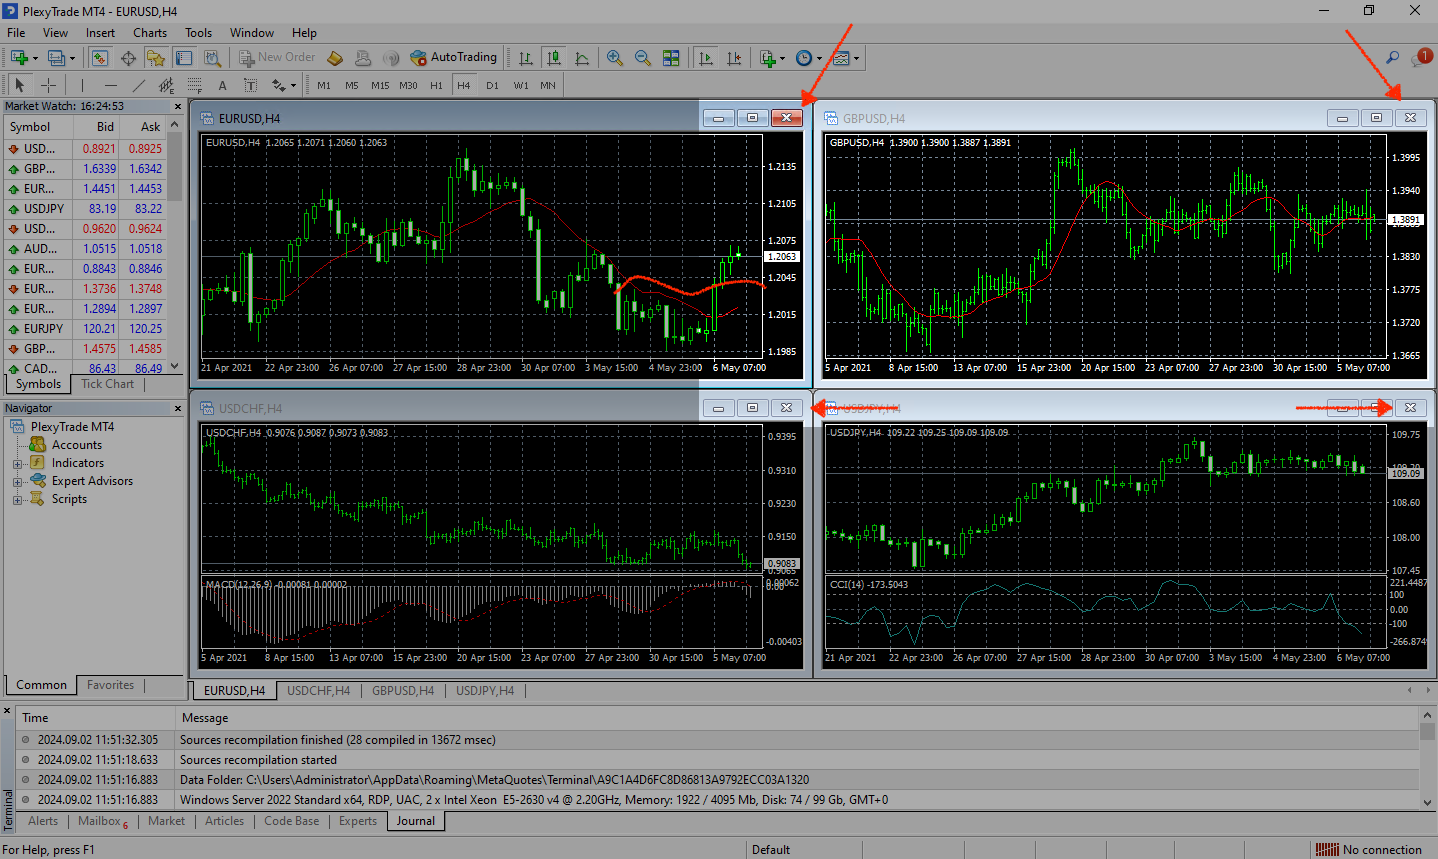
Close existing charts
By default, MetaTrader will have 4 charts already opened. We can close these charts, as we will be preparing our own set of charts. (click the X on each window)
Prepare charts
1. Open chart
-
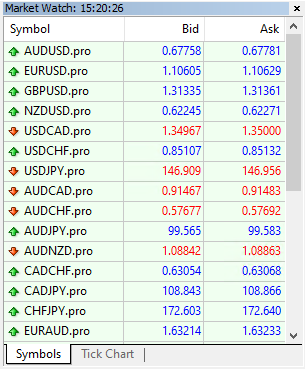
Locate the "Market Watch" panel inside MT4
-
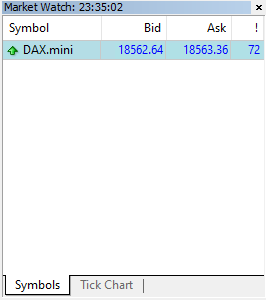
Find the correct symbol, identified in the previous step in the list of available symbols
dangerYou must check and know your specific contract size! Otherwise your risk settings will be incorrect and you may risk too much per trade!
 tip
tipIf you can not locate a symbol, right click inside the "Market Watch" panel and select "Show all".
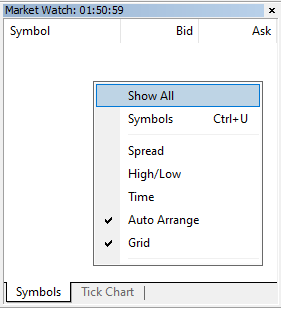
-
Now right click on the symbol and select "Chart Window"
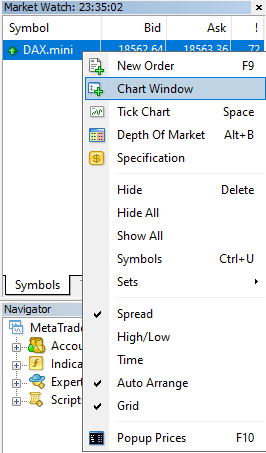
-
A new chart will appear for the
DAX.miniindex -
Repeat this two more times, so we end up with 3 charts for the
DAX.miniindex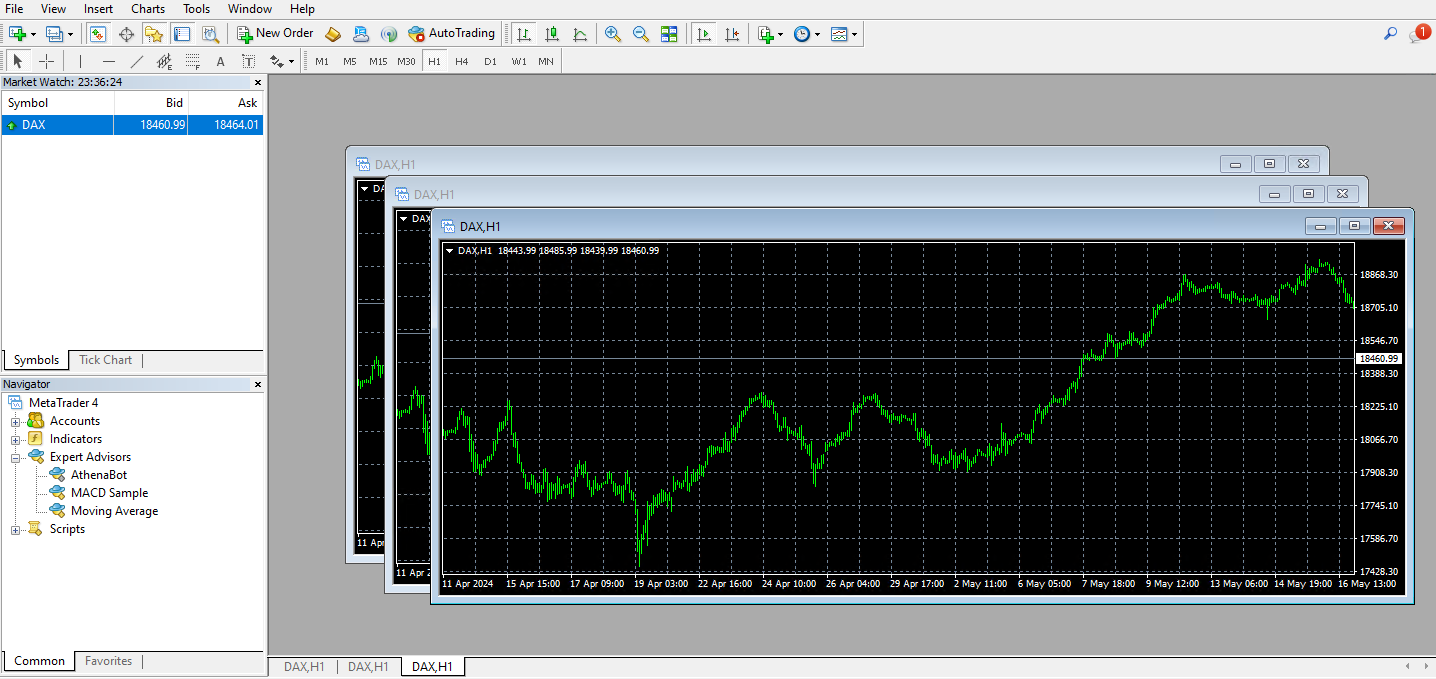
2. Change chart timeframe
-
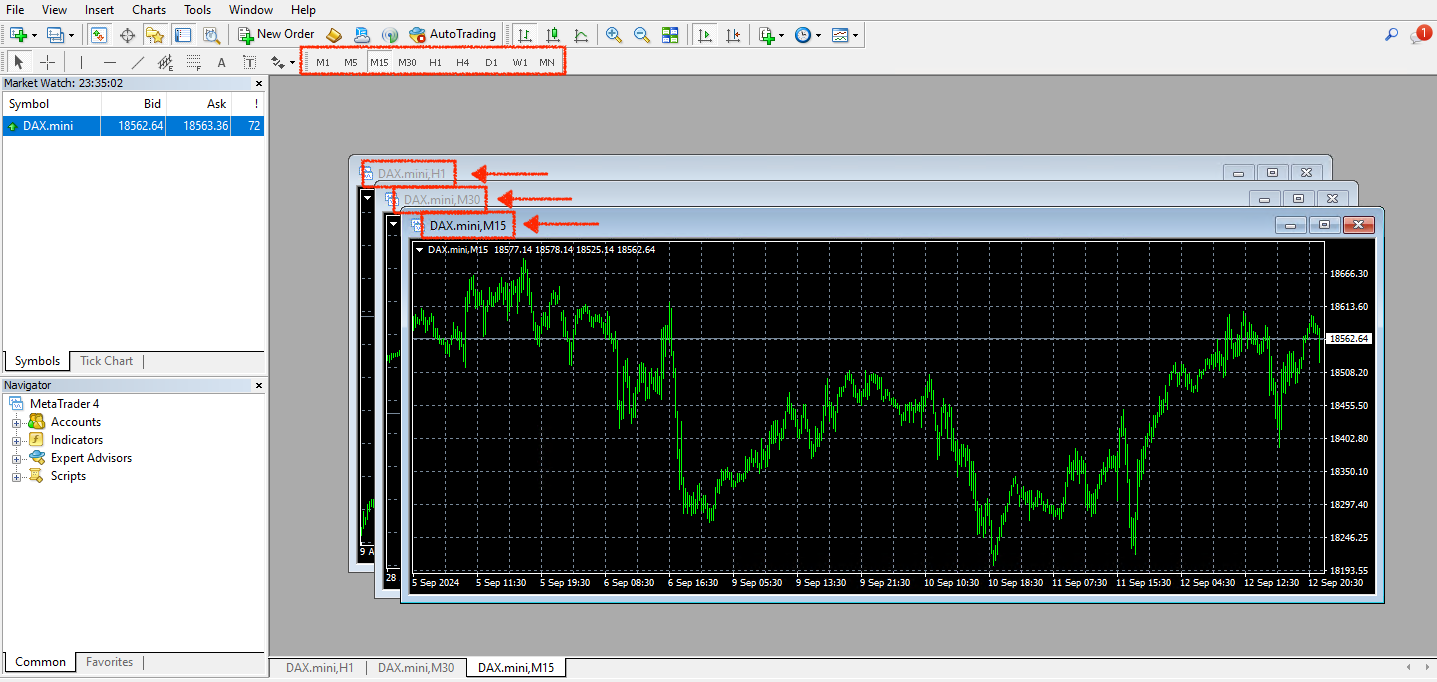
To change the chart timeframe, simply use the buttons on the top of the MT4 toolbar
-
Change the timeframe for each chart (click onto the chart to highlight it and then select the desired timeframe)
- Set 1 chart to the 1H timeframe
- Set 1 chart to the 30M timeframe
- Set 1 chart to the 15M timeframe
3. Re-arrange windows
To make the next steps easier, we should re-arrange the individual charts:
-
In the toolbar at the top of the MetaTrader 4 window, click on the following button

-
You should now see the windows taking up equal space next to each other
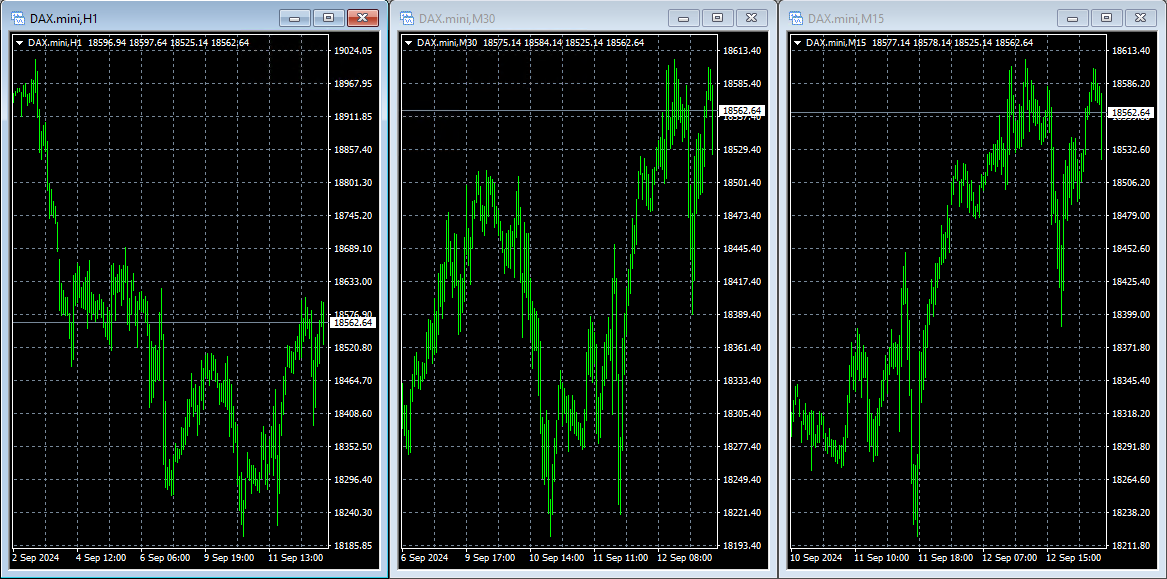
4. Attach AthenaBot to each chart
The following steps (4-6) need to be repeated for the other 2 charts (30M and 15M timeframe)! Each chart uses slightly different settings, so please pay attention.
Before continuing, make sure "AutoTrading" is disabled! This will prevent any trades being placed during the setup.
-
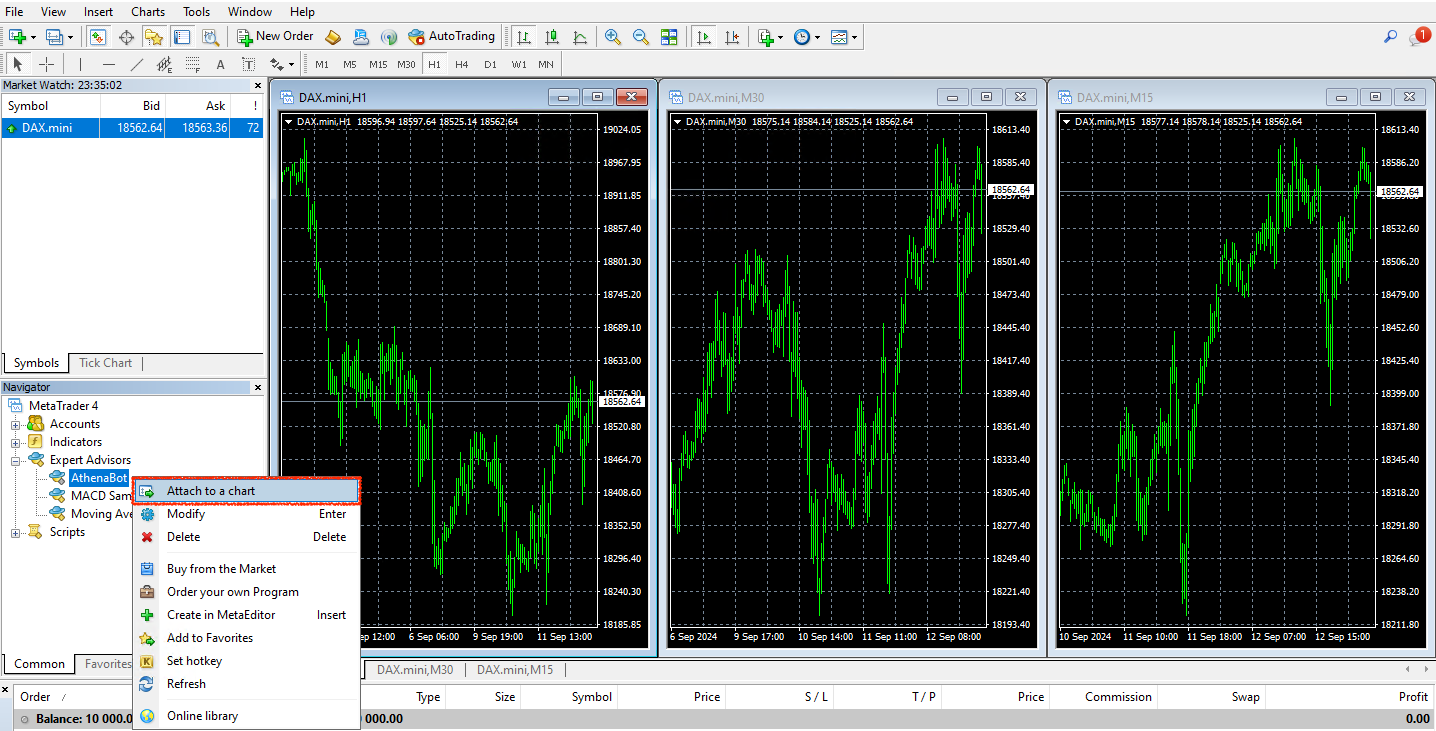
Start by selecting the 1H chart (left click the chart to highlight) then navigate to the "Expert Advisors" section in the "Navigator" panel and right click on AthenaBot
-
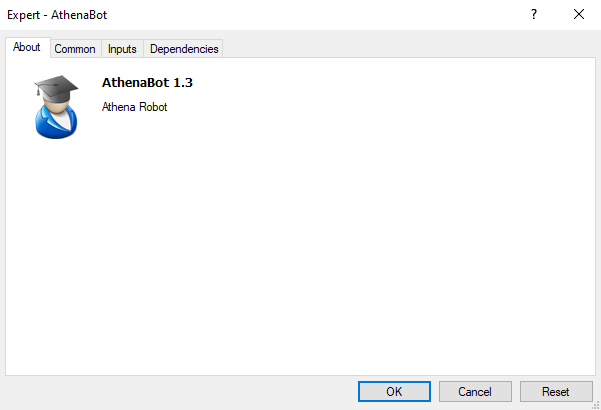
Then select "Attach to a chart" and a new dialog should appear
5. Update Common settings
-
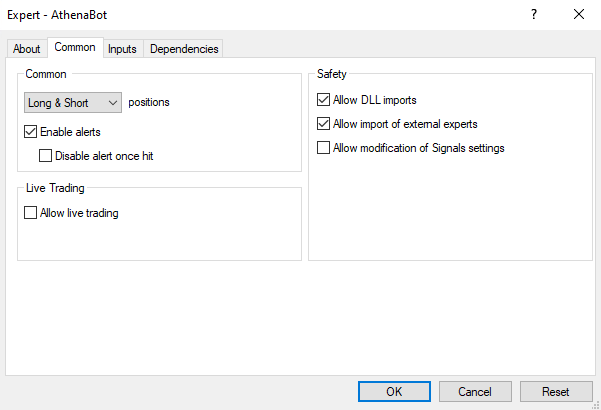
In the "Expert - AthenaBot" dialog, navigate to the "Common" tab
-
Now enable the "Allow live trading" checkbox
6. Update Inputs settings
-
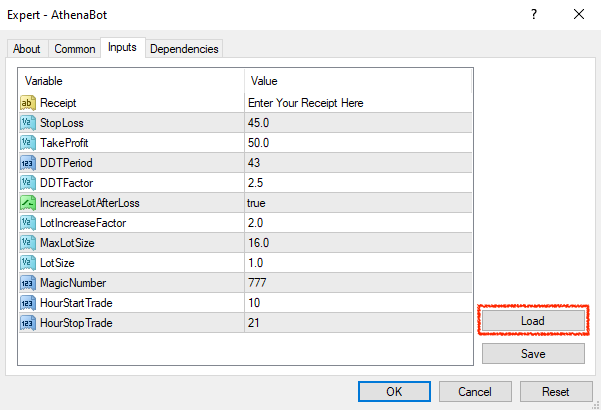
In the "Expert - AthenaBot" dialog, navigate to the "Inputs" tab

-
Click on the Load button on the right hand side of the dialog
-
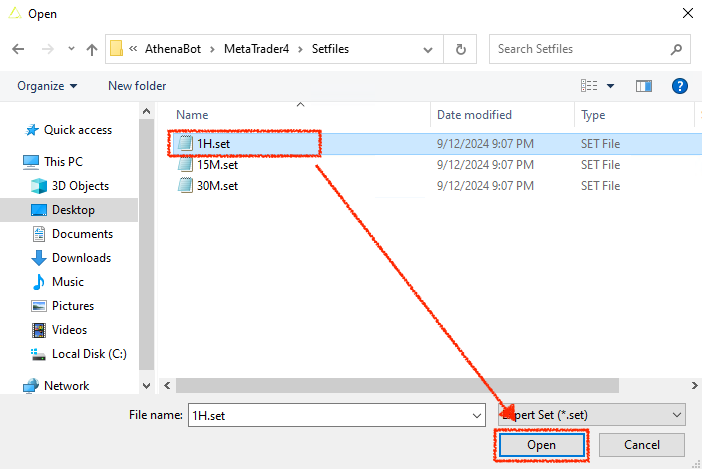
Now select the appropriate SET file from the provided download (in this example
1H.set, because we are setting up the1Hchart)- 1H chart timeframe =
1H.setfile - 30M chart timeframe =
30M.setfile - 15M chart timeframe =
15M.setfile
- 1H chart timeframe =
-
This will now load the appropriate settings into your Inputs tab. You will now need to enter your license key (
Receipt),LotSize,MaxLotSize,HourStartTradeandHourStopTradevalues- Please check the Settings guide for detailed instructions
7. Confirm settings
-
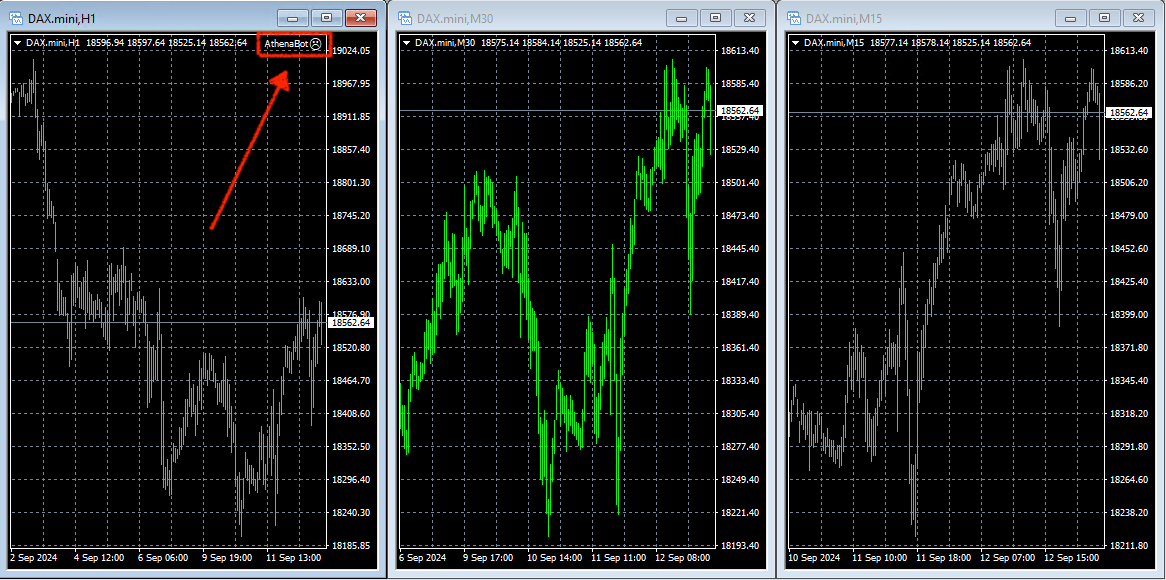
If you have updated your settings, click "OK" to attach the AthenaBot to the DAX.mini 1H chart
-
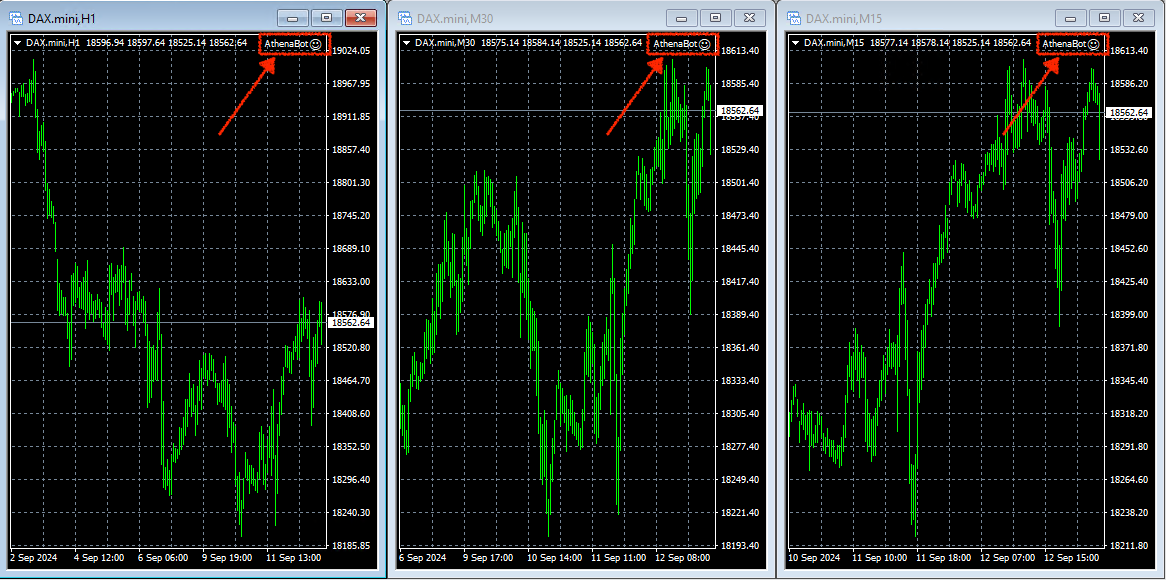
If done correctly, you should now see
AthenaBot ☹in the upper right hand corner of the DAX.mini 1H chart.
Now repeat this process for the remaining 30M & 15M charts! Make sure you load the appropriate SET files for each timeframe!
- 1H chart =
1H.setfile - 30M chart =
30M.setfile - 15M chart =
15M.setfile
Setup completed
If you have successfully set up all 3 charts, your MetaTrader 4 window will look something like this:
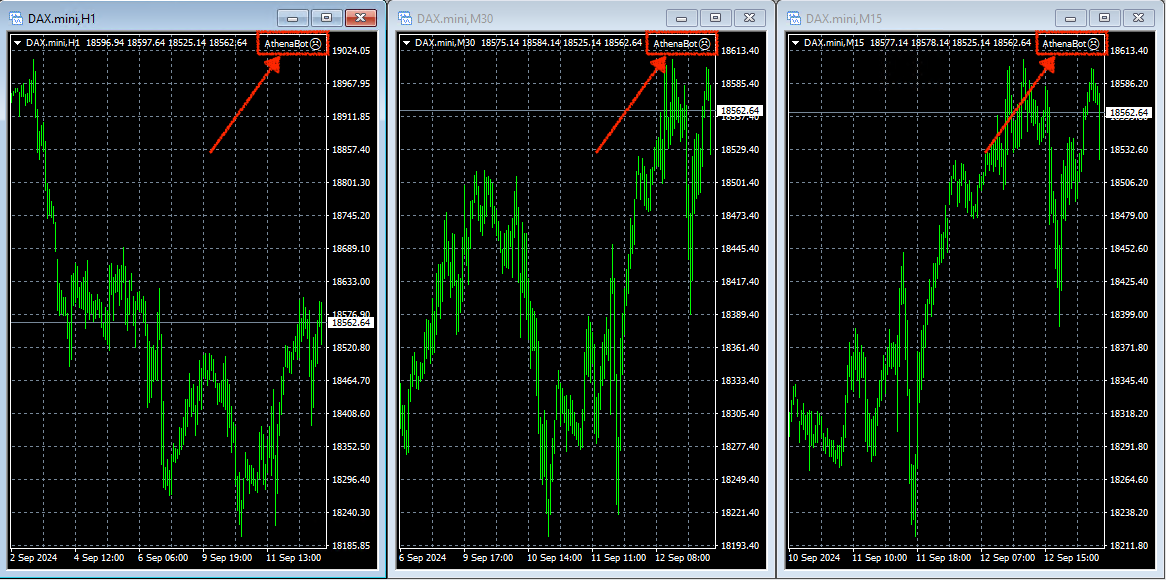
Once the setup is competed and all 3 charts are set up with the AthenaBot enabled, you can finally click on the AutoTrading button to start trading!
You should now see the 3 frowning faces turn into smiling faces
